What you’re building
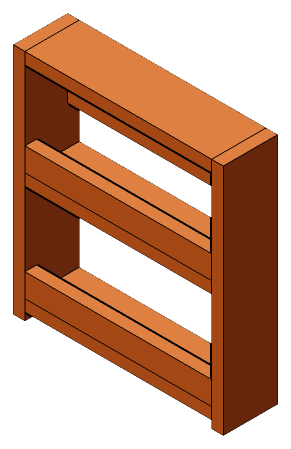
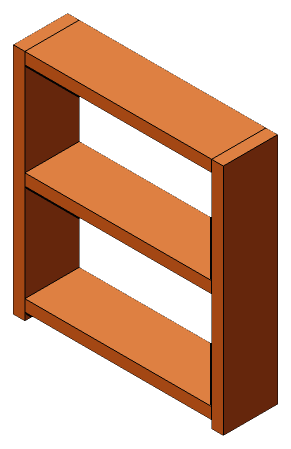
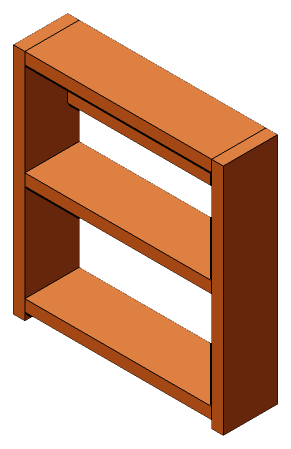
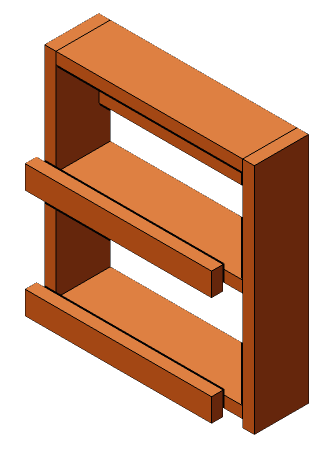
A simple case: two sides, three shelves fixed between them, a rail across the back at the top to screw through, and a lip on the front of the two lower shelves so a bump doesn’t send jars onto the counter. The top shelf has no lip; it’s the top. A 1x4 is 3½ inches deep, which suits standard spice jars and small bottles with room to get your fingers in. Shelves are 7 inches apart, which clears a tall jar with a little to spare.
The lips are the only rip cut on this project: one 12-inch piece of the board sawn lengthwise into two 1½-inch strips. It’s a short cut with a hand saw. If you’d rather not, a length of ¼-inch dowel across the front of each shelf does the same job, and then the whole rack uses 79 inches.
Pick the board
This uses 91 of the 96 inches, so buy a full-length board and measure it. A 1x4 is ¾ by 3½ inches. Poplar takes paint well; pine is fine stained or oiled. Straightness matters for the two sides, since a bowed side will show as a gap at the shelves.
Cut
Cut the two sides at 15, then the three shelves at 12, then the two remaining 12-inch pieces for the lips and the back rail. Check the three shelves against each other. Rip the lip piece down its length into two strips, each about 1½ inches wide; a pencil line and a hand saw is enough, and the sawn edge goes down against the shelf where it won’t show.
Mark the sides
Lay the two sides flat, inside faces up, ends aligned. Mark shelf positions across both at once: bottom shelf from ½ inch to 1¼ inches up, middle shelf from 7½ to 8¼, top shelf from 14¼ to 15, the top. Marking both sides together is what keeps the shelves level.
Assemble the case
Stand one side on its back edge. Glue the ends of the three shelves and set them on their marks, flush with the front and back edges of the side. Glue and set the second side on top. Clamp across, check square by measuring the diagonals, and drive two 1¼-inch screws through each side into each shelf end, countersunk. Twelve screws so far, six per side.
Add the back rail
The rail goes flat against the back, directly under the top shelf, between the sides. Glue its ends and its top edge, slide it in from the back, and drive one screw through each side into it. It stiffens the case and takes the wall screws.
Add the lips
Set a lip on the front edge of the bottom shelf, standing on its sawn edge, flush with the shelf’s front face, and glue it. Hold it with a clamp or a couple of brads while it dries; if you screw it, use 1-inch screws through the lip into the shelf edge, three per lip. Repeat on the middle shelf.
Finish
Sand to 180. Paint or oil. Mount it with two screws through the back rail into anchors, or one screw into a stud if one lands within the 13½-inch width. Spice jars are heavy in aggregate; don’t rely on a single drywall screw.
If something goes wrong
- Shelves aren’t level. The marks on the two sides didn’t match. Loosen one side’s screws, tap the shelf to the line, re-drive.
- Rip wandered. The lip is a little narrower at one end. Put the narrow end where it’s least visible; a lip doesn’t need to be even to hold a jar.
- Case racks out of square. Glue not dry yet; push it square and clamp diagonally across the long dimension until it sets.