What you’re building
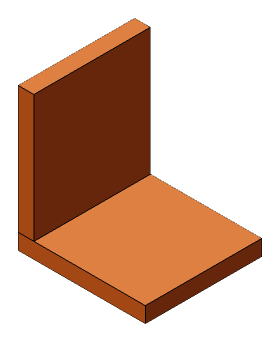
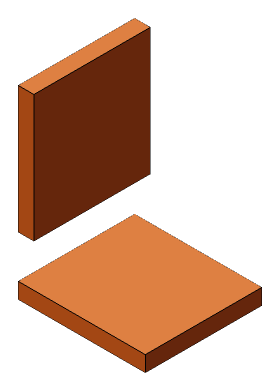
Two L-shaped bookends, each an upright standing on one end of a flat base. The base slides under the first few books, and their weight is what keeps the upright from tipping. That’s the whole trick; it’s why an L works where a plain block doesn’t. Each bookend is two 6-inch pieces of 1x6, so the pair is four cuts. It’s the fastest project on this site and a good way to use the end of a board left from something else.
Pick the board
Any 1x6. This is a good one for a nicer species, since bookends sit at eye level: poplar for paint, oak or maple for oil.
Cut
Four pieces at 6 inches. Cut them all with the same setup so they match, and check the two uprights against each other and the two bases against each other. Square ends matter here since the upright’s end is a glue face.
Assemble
Stand an upright on its end on the base, flush with one end of the base and with both sides. Glue the joint, square it, and clamp it or hold it. Flip the assembly and drive two 1¼-inch screws up through the base into the end grain of the upright, countersunk so the heads sit below the base’s bottom face. Repeat for the second bookend, mirrored or not; they work either way.
Finish
Sand to 180 and ease all the edges. Finish to match the shelf. Cork or felt on the underside stops them scratching a wood shelf and adds grip.
If something goes wrong
- Upright leans. The base end wasn’t square, so the upright isn’t at 90 degrees. Sand the base’s end square and reglue.
- Screws split the upright. End grain in ¾-inch stock. Drill pilot holes.
- Bookend slides. Not enough books on the base. Put a heavier one first, or add the cork.