What you’re building
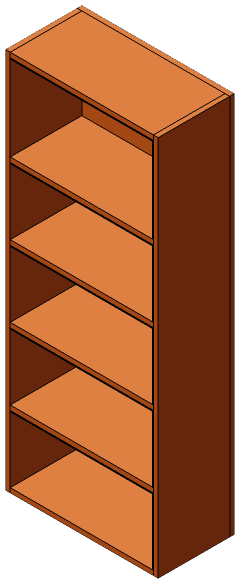
A plain, sturdy bookcase: two sides, a top and bottom, four fixed shelves, and a full plywood back. Everything is a butt joint held with glue and screws, and the back, screwed to the rear edge of every piece, is what makes the whole thing rigid. Five bays, each about 11 inches tall, which fits most hardcovers with room and every paperback. It comes out of one sheet of ¾-inch plywood with 2 inches of length to spare and a strip 1¼ inches wide down one side.
The layout is deliberate. The back and both sides are cut from the first 60 inches of the sheet, side by side, so the three long rips share the same factory edge and end up the same length. The six shelves come from the last 36 inches in a three-by-two grid. If your saw setup can’t cut a 60-inch rip accurately, cut the sheet into a 60-inch and a 36-inch piece first, then rip each.
Pick the sheet
¾-inch plywood, any grade. Sanded pine or “project panel” plywood from a home center is fine for a painted case; birch or oak-veneered ply is worth it if you’ll stain or clear-coat. Check the sheet for flatness by sighting down it; a bowed sheet makes bowed sides. Home center plywood is often 23⁄32 rather than a true ¾. Nothing here depends on the exact thickness.
Cut
Cut order matters on a sheet. Do the long rips first, since they need the factory edge as a reference: the 24-inch back, then the two 11¼-inch sides, all 60 inches long. Then crosscut the remaining 36 inches off, and from it rip three 11¼-inch strips and crosscut each into two 22½-inch shelves. Label every piece as it comes off the saw. Cut all six shelves with the same setup so they match; if one is 22⅜ and another 22⅝, the case won’t be square.
Sand the cut edges with 120 to knock off the splinters. If you’re using edge banding, iron it onto the front edges of the sides and shelves now, while they’re flat.
Mark the sides
Lay the two sides side by side, inside faces up, bottom ends aligned. Mark shelf positions across both at once: the bottom from 0 to ¾ inch, then the underside of each shelf every 11¼ inches, and the top flush at 60. Six horizontals, five bays, 10½ inches clear in each. Mark a centerline for each shelf on the outside face too; that’s where the screws go.
Assemble the box
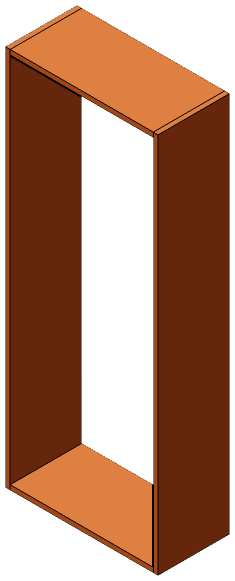
Stand one side on its back edge on the floor. Glue the ends of the top and bottom pieces, set them on their marks flush with the front and back edges of the side, and set the second side on top. Clamp. Check the diagonals; when they match, the box is square. Drive three 1⅝-inch screws through each side into each end of the top and bottom, countersunk. If you have a helper, this step is easy; alone, clamp the pieces to a square block first.
Add the shelves
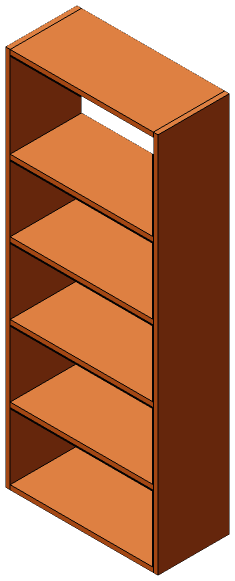
With the box still on its back edge, slide each shelf in on its marks, glue the ends, and screw through the sides, three per end. Check each one against a square as you go. Twenty-four screws.
Attach the back
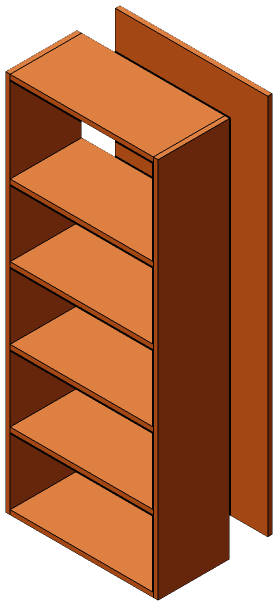
Lay the case face down. Set the 24 × 60 back over the rear edges, flush all round. Before screwing, push the case until the back lines up flush with every edge; that’s the case being squared by the back. Glue the edges, then drive 1¼-inch screws through the back into the sides, top, and bottom every 8 inches, and two into each shelf. This is where the rigidity comes from, so don’t skimp.
Finish
Sand to 180. Fill screw holes and any plywood voids with wood filler if painting. Paint, or a wipe-on polyurethane over stained or bare veneer.
Anchor it
A 60-inch-tall case full of books will tip if a child climbs it. Screw the anti-tip strap to the top of the case and into a stud. Not optional.
If something goes wrong
- Case isn’t square after the back is on. The back was screwed on before the case was pushed square. Back the screws out along one edge, push, re-drive.
- Shelves aren’t level. The two sides were marked separately. Loosen, tap the shelf onto its mark, re-drive.
- Screws split the plywood edge. Drill pilot holes; plywood edges split easily. Keep screws at least 1 inch from the front and back edges.
- Circular saw tore up the veneer. Cut with the good face down, use a fine-tooth blade, and score the cut line with a knife first.